How To Add Stick On Lights To A Mirror
I may earn a commission from links in this post. Thank you!
One day, you’ll own a great Hollywood mirror.
But they are expensive, and maybe today is not that day.
Instead, why not simply add lights around a vanity mirror DIY style?
Five reasons to add lighting to a mirror
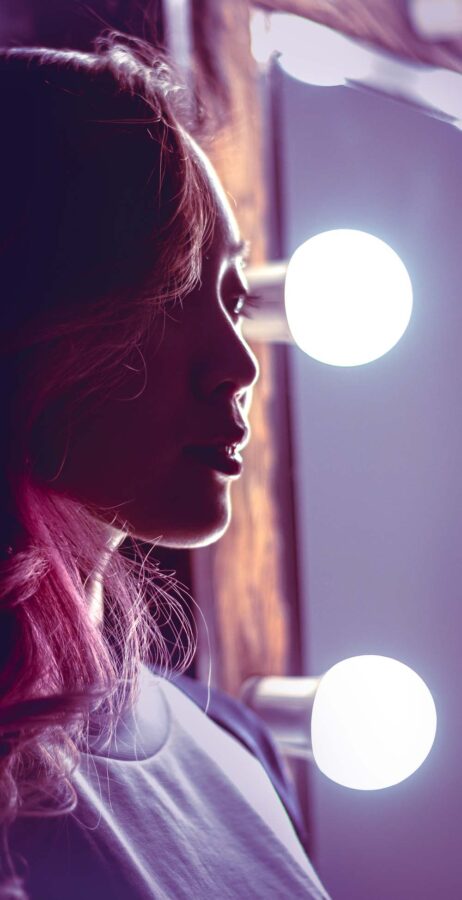
One of the basic principles of vanity lighting is to avoid a single light source which casts deep shadows. The solution is to have multiple diffused small lights from all directions – hence ring lights, circle mirrors, Hollywood lighting etc. A cheap string of fairy lights can transform your blending and foundation results.

How to choose stick on lighting for makeup?
There are lots of funky multicolored lights available … which are useless when used for makeup vanity lights. Here’s what to look for instead (see my article on makeup lighting for more details):
The best stick on vanity lights: TOP PICK

If you’re looking for professional (but low cost) mirror lights then these “GlamPanels” are the answer. They are the result of a successful Kickstarter campaign by Rachel Vicknair. She recognised the need for portable stick-on lighting designed specifically for makeup application, but without the size and weight of traditional solutions.
In the (beautiful) box are:

Each panel has a light strip with 6 LED bulbs, at 5000K – daylight temperature. They give off 42 Lumens of brightness, which means just the right amount of illumination at a working distance of 3 feet. The reason to use 4 is so you can arrange light from all directions, avoiding shadows. Battery life seems to be over 4 hours.

Rather than a single suction cup, the back of the panel has a nanosuction layer – thousands of tiny suction sites. Simply press to stick the panel onto the glass, and twist to remove.
There is no glue to wear off over time. If the suction does fade it can be restored by cleaning with a damp cloth.
Reviewers love these lights. Two common themes are “such a game-changer” and “I never knew I needed these, and now can’t live without them”. A few people have complained they are difficult to unstick when new.
If you’re serious about your image, and particularly if you travel a lot, then you don’t need to read any further. Check them out direct from Rachel’s site.
How to attach LED light strips to a mirror
If you’re not looking for a travel solution, then the easiest DIY way to add lighting is to install LED light strips with a plugin power supply.
- Decide how many edges of the mirror you’re using. All 4 gives the best lighting, although top only, top and bottom, or left and right sides work too.
- Decide whether to attach directly to the glass, or to the mirror frame if present, and how far in from the edge.
- Using a tape measure carefully work out the dimensions. Check your measurements twice!
- Choose and order the LED strip in the right length.
- Plug in and test the lights before fixing.
- Clean the mirror with rubbing alcohol and a microfibre cloth. The surface must be grease free.
- Decide the location of the power cord.
- Peel off the backing tape and firmly press the strip into place, unrolling it from one end. Use a straight edge such as a ruler or timber batten to keep your lights parallel with the mirror edge.
- At corners, depending on the exact type of light, either bend or fold the strip. If you prefer to cut the strip, you may need to buy and fit seperate connectors – it’s way easier than it sounds! (see video for tips).
Best LED light strips
These are my 2 recommendations for LED strip lights. They both have LED bulbs at 6000K, are very bright but also dimmable, and are UL safety rated. The first light kit is also IP65 water-resistant, so can be safely used in the bathroom.


Add Hollywood lights around your vanity
You simply can’t beat Hollywood lights for feel-good glam. You can add these string lights around any makeup mirror, and they look especially stunning on a large vanity or full length mirror.
Best Hollywood lighting kit

This lighting kit ticks all the boxes. I especially like the winding mechanism at the base of each bulb, meaning no loose cabling. You can even use it to shorten the distance between individual bulbs.
There are 1000’s of positive reviews on Amazon, including longterm. The few negative ones are mainly complaints about the light bulbs becoming unstuck, and also the switch/power failing after a few months.
Add a light bar
There are 2 types: cheaper ones you stick directly to mirror’s glass; and more expensive fixtures you attach to the wall, often needing hardwiring. You are more likely to consider the second type of light fixture when you’re doing a bathroom renovation, so I haven’t covered them here.
Here’s the most suitable bar light I can find:
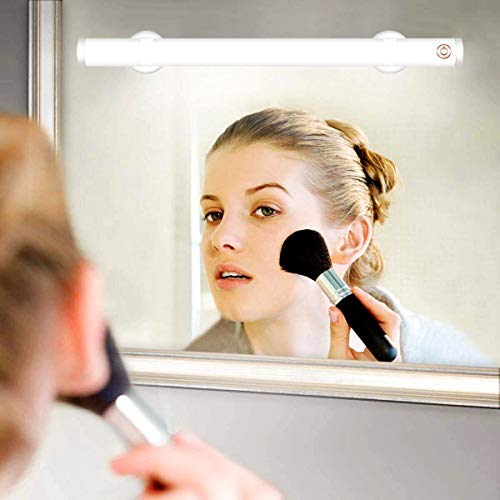
This lamp has some positive features, especially the bright light at the best color temperature (daylight equivalent), and which has 4 dimmer levels. I suggest buying two, one for each of the left and right edge of your mirror. Another plus is that it is rechargeable, so you don’t have to worry about unsightly wires. It is easily attached with 2 suction cups, and is very lightweight (you could even take it on vacation as portable lighting).
The main downside is that the charge doesn’t hold very long, and the brightness fades quite quickly with the charge. I suggest recharging it most days. Check the instructions for the right way to charge the light for the first time – it’s not very intuitive.
Bar lights look good, but mostly they’re not particularly designed for makeup and beauty routines. I believe you will be happier with the Leopara travel panels, add-on strip lights, or Hollywood lights instead.